It’s happened to nearly all of us at some point – we pull out our checkbook and locate a pen before realizing it’s been a while. We start to doubt ourselves: “Do I have to sign it? If so, front or back? What’s the memo line used for again?” etc.
We may write fewer checks these days, but the amount per check is way up. According to the Federal Reserve, the average value per check in 2024 was $2,745. That’s a nearly $700 increase compared to 2020.
We’re using checks for some of the biggest and most important payments in our lives – wedding venues, down payments on cars, or the deposit on a new apartment. In moments like these, getting it wrong is simply not an option.
So, in honor of the Back-to-School season, we’re going over some check-writing basics and a few finer points, too. Take your seats and pull out your indelible ink pens! Class is in session.
Check Writing 101 – A Main Street Guide
We get it, checks aren’t always intuitive. There’s a lot of information there and asking the person you’re paying for help can be, well, embarrassing.
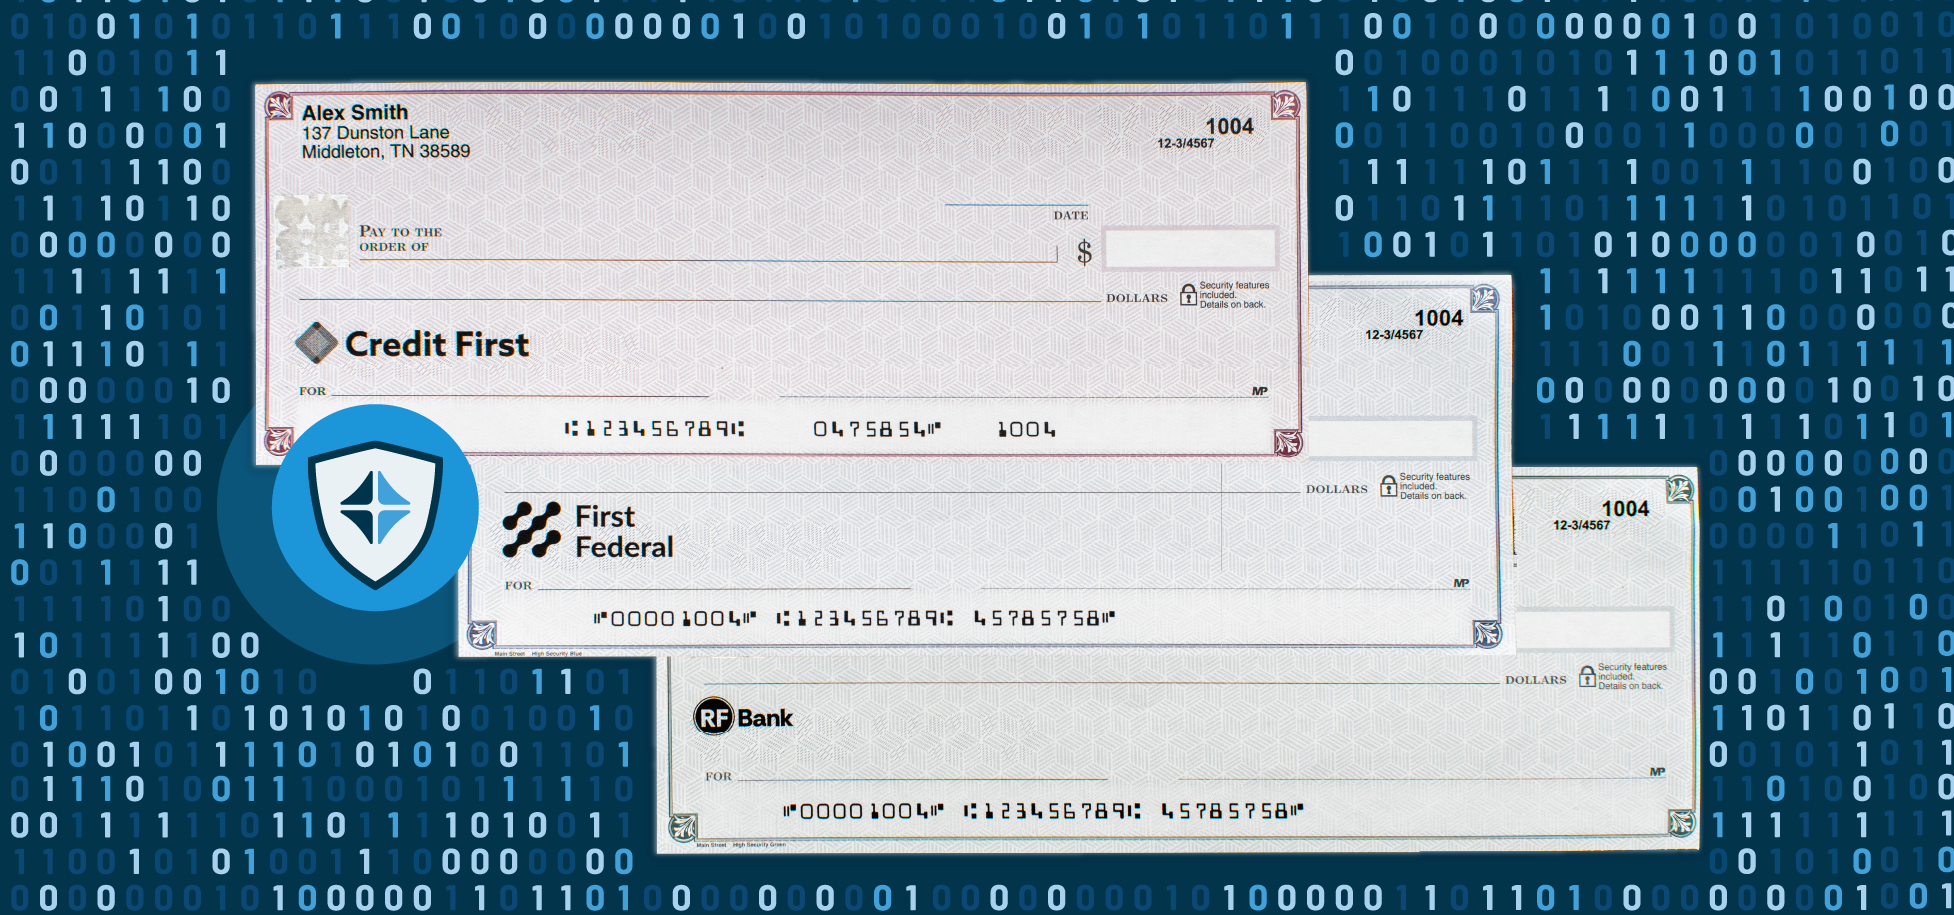
Let’s take a quick tour of the average personal check before diving into the steps themselves.


Parts of a Check
The good news here is that not every part of a check requires your attention. Let’s look at each section individually. Please keep in mind that your check may appear differently in some areas.
How to Write a Check, Step by Step
Now that you’re familiar with the parts of a check, let’s walk through the process of filling one out. If you’re tripped up by a certain word or phrase, consult the small glossary we’ve included at the bottom of the page.
Step 1 – Add the Date
To start, make sure you’re using a pen with indelible ink. Indelible ink is simply a kind of ink made to be permanent (no erasable ink pens, please). Now, let’s add the date.
The format of MM/DD/YYYY is most widely accepted and least likely to result in confusion. That said, if you write out the date fully (e.g. September 15, 2025) that’s fine, too.
Top Tips:
*Post-dating is a common practice but not always supported. Expect to pay the moment a check is written to avoid overdraft fees or unexpected withdrawals.
Step 2 – Designate the Payee
Now, let’s move on to who you’re paying. On the payee line (reading: Pay to the Order of) add the full legal name of the person or business. If you’re unsure who to make a check out to, ask beforehand.
Top Tips:
Step 3 – Add the Amount (Numerical)
To avoid under or overpayment, we add the amount twice to each check. The numerical amount, often called the Courtesy Amount, goes in the small amount box provided.
Legibility is crucial here. Take your time and fill up as much of the box as possible to avoid alteration. Remember to include a decimal point and the cent amount afterward.
Top Tips:
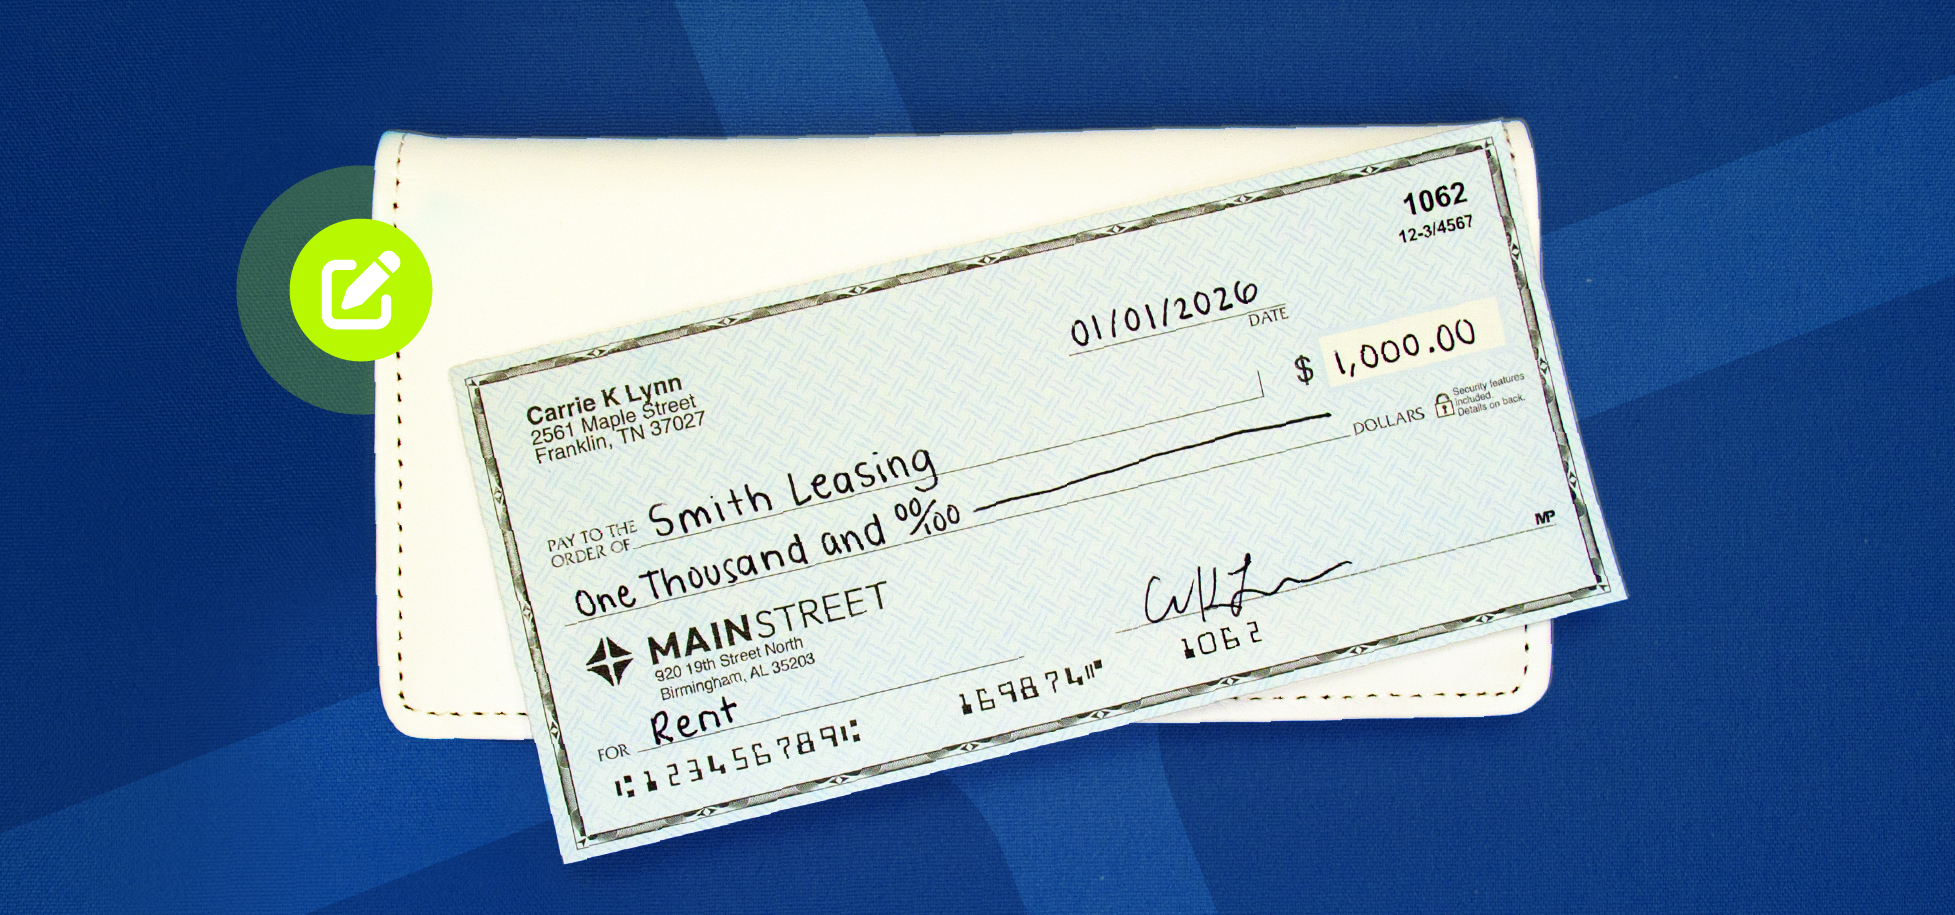
Step 4 – Write the Amount (Spelled Out)
Now, we’re moving on to the dollar or amount line located below Pay to the Order of. This is the written amount, also known as the Legal Amount. All you’re doing here is spelling out the same amount you included numerically in the amount box.
Take your time and avoid shortcuts to ensure your check is accepted. As an example, if you’re writing a check for $650.00, you would spell it out like so, “Six hundred and fifty dollars and 00/100.”
The cents are usually expressed as a fraction without being spelled out. Finally, you’ll want to draw a straight or squiggly line through any remaining space to prevent alteration.
Note: If the Courtesy Amount (numerical) and the Legal Amount (written) don’t match, banks will honor the Legal Amount.
Top Tips:
Step 5 – Fill Out the Memo Line (Optional)
The memo line is purely optional, but filling it out is generally a good idea.
Here, you’ll simply add what the payment is for. Doing so helps you keep up with what you spent and where. In some cases, utility companies (power, water, etc.) may require your account number with them to be listed on the memo line.
Top Tips:
Step 6 – Add Your Signature
You’re almost done! To add your signature, locate the signature line (usually in the bottom right-hand corner on the front of your check).
Remember to use the same signature you used with the bank that issued your checks. Once you’ve added your John Hancock, it’s time to hand over the check!
Top Tips:
Bonus: When & How to Write a Voided Check
Payment isn’t always the goal of the checks we write. Sometimes, we need to provide or discard a check while ensuring that it won’t be used for fraud.


To void a check, simply write “VOID” in large black letters over the front. If you’re providing a check for verification or automatic payments, avoid covering up the account information. That’s it! Simple as that.
You may need to void a check if or when:
Glossary of Common Check Terms
Here are a few basic check terms and definitions to keep you in the conversation. For more information about check terminology, speak to a teller at your local bank or credit union.
Account Balance
The amount of money available for use in a checking or savings account.
Business Check
A check used by businesses for the payment of debts or purchases.
Check Endorsement
When a payee signs the back of a check, authorizing a financial institution to process or deposit it.
Checking Account
An account designed for frequent transactions, including depositing, withdrawing, or paying bills.
Legal Amount (Written Amount)
The dollar amount written out in words on the “Amount Line” of the check. This amount is considered legally binding.
Payor
The person or business paying with a check. Most checks come with the payor’s name printed.
Stop Payment
A request by a payor to cancel a payment made by check before it is processed.
Bounced Check
When you write a check for more money than you have, that check may “bounce” back to you without being paid.
Certified Check
A personal check that’s been guaranteed by a financial institution.
Check Fraud
A criminal practice of using, altering, or printing checks to defraud people, businesses, or financial institutions.
Courtesy Amount (Numeric Amount)
The dollar amount written numerically in the small box on the check (e.g., $125.50).
Payee
The person or business being paid with a check. We put the payee’s name on the “Pay to the order of” line.
Routing Number
A nine-digit code printed on checks that identifies the bank or credit union that issued the check.
Void
A word written on the front of a check when invalidating that check.
Main Street: Printing High-Quality Checks for 25+ Years
At Main Street, we LOVE checks. As a nationwide check vendor, we serve over 2,000 institutions by providing personal, business, and high-security checks among so much more. Learn more about who we are and what we do today.